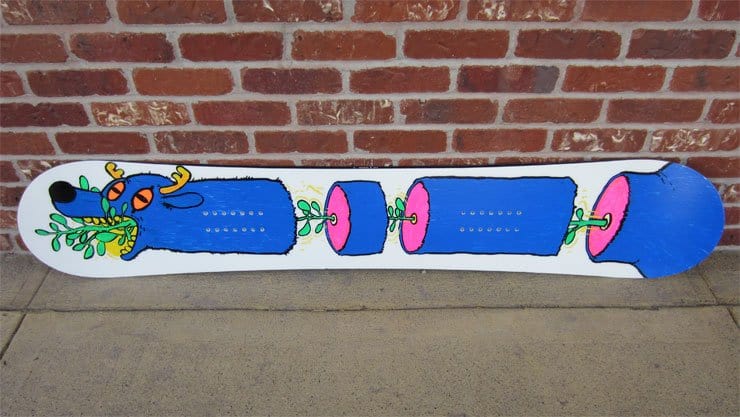
DIFFICULTY: Easy
DURABILITY: Medium
COST: $40 for a kit
SUPPLIES:
- Blank snowboard
- BoardStix Kit
DIFFICULTY: Easy
DURABILITY: Medium
COST: $40 for a kit
SUPPLIES:
You can read more about BoardStix on our blog here.
STEP 1:
Use a cleaning solution to remove any dirt or other residue from the top of the board.
STEP 2:
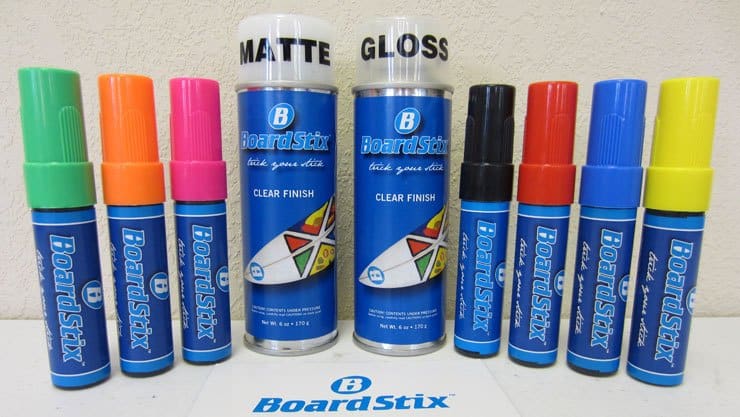
Prime your BoardStix by shaking them well and pressing down on the tip several times until they are saturated with color.
* We found that if you apply a light coat of clear finish and let it dry before applying the BoardStix they won’t discolor your white board after removal.
STEP 3:
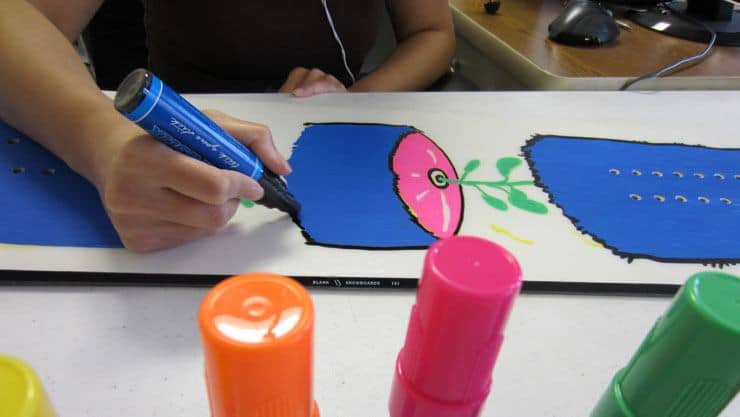
Apply the BoardStix just like you would any other paint pen or permanent marker.
* Make sure one color is dry before you add another color on top of it so that they don’t mix.
STEP 4:
Wait a few minutes for your design to dry.
STEP 5:
To apply the clear finish, hold the can 10-12 inches away from the board and spray in a sweeping motion.
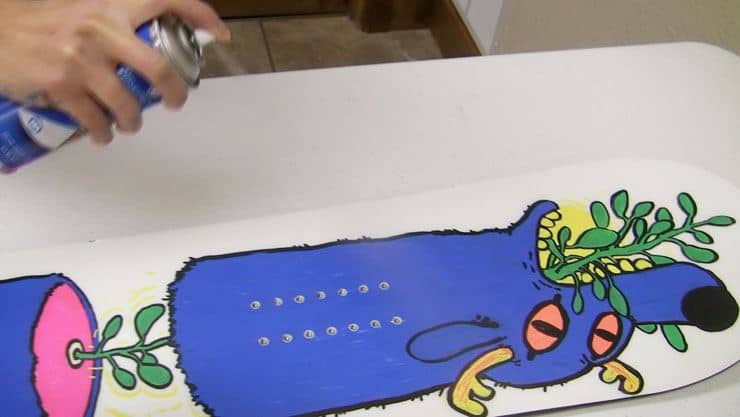
STEP 6:
Let the clear finish dry for 3 hours, then you’re ready to ride.
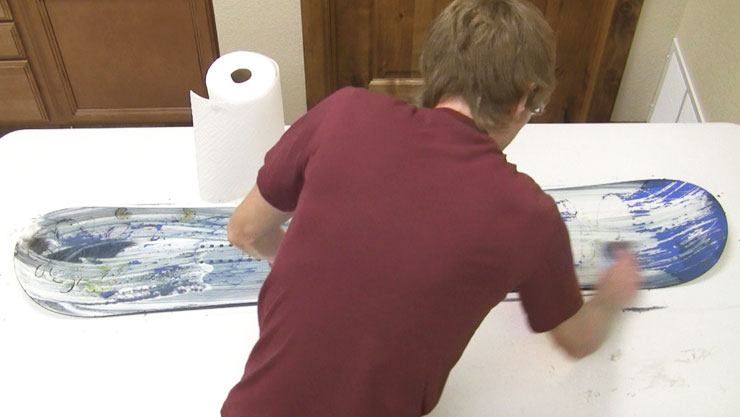
* When you’re ready for a new look, simply use a mild glass cleaner to remove the original design. We found that using an abrasive sponge is the most efficient way to remove the BoardStix.
Note that BoardStix are not 100% removable on a white Blank snowboard and do leave some faint coloring. To avoid discoloring, add a light coat of clear finish and let it dry before applying the BoardStix they won’t discolor your white board after removal.
You can purchase BoardStix here.
