DIFFICULTY: Medium
DURABILITY: High
COST: Around $11 per square foot
SUPPLIES:
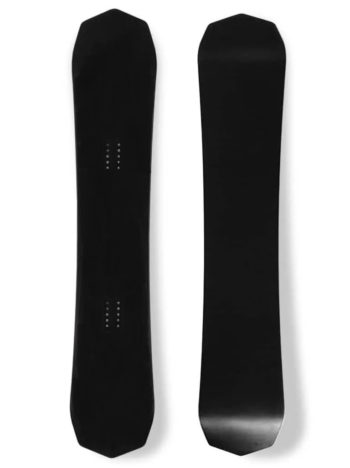
- Blank snowboard
- Adobe Illustrator
- Vinyl printer & cutter
- Razor blade
- Flat object for smoothing
DIFFICULTY: Medium
DURABILITY: High
COST: Around $11 per square foot
SUPPLIES:
STEP 1:
Create a vector image using Adobe Illustrator (This layer will be the printed image).

STEP 2:
Copy and paste the image onto a second layer and convert it to “lines”. This layer will designate where the cuts will be made.
* If you have any overlapping shapes, you will need to adjust your lines for proper cutting.


STEP 3:
Find a print shop that has a vinyl printer/cutter and give them your file for printing.
STEP 4:
Use a cleaning solution to remove any dirt or other residue from the top of the board.
STEP 5:
Remove backing from the vinyl.

STEP 6:
Apply vinyl to the board, moving from one end to the other.

STEP 7:
Use a flat object to smooth out any bubbles as you go.

STEP 8:
Remove top adhesive layer from the vinyl.