DIFFICULTY: High
DURABILITY: Medium
COST: $40-50
SUPPLIES:
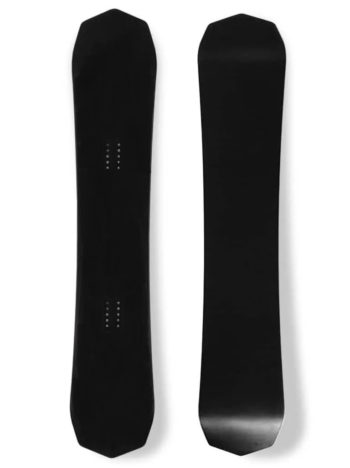
- Blank snowboard
- Primer
- Paint
- Brush
- Clear coat
- Sandpaper
- Painters tape
- Cotton swabs
- Buffing compound
DIFFICULTY: High
DURABILITY: Medium
COST: $40-50
SUPPLIES:
STEP 1:
Use a cleaning to remove any dirt or other residue from the top of the board.
STEP 2:
Use sandpaper to scuff up the top of the board.

STEP 3:
Fill the binding holes with cotton swabs.

STEP 4:
Tape around the edge of the board.

STEP 5: Apply the primer to the board. Plastic primer is best.


STEP 6: Apply the paint to the board (the more flexible the paint, the better).

STEP 7: Apply multiple layers of clear coat to the board, the more layers the more durability.
* Spar urethane (aka spar varnish) is a great clear coat option.

STEP 8: Remove tape and cotton swabs.
STEP 9: Apply buffing compound to make it shine.