DIFFICULTY: Easy
DURABILITY: None (serious?)
COST: $6-10
SUPPLIES:
- Blank snowboard (white)
- Dry-erase markers
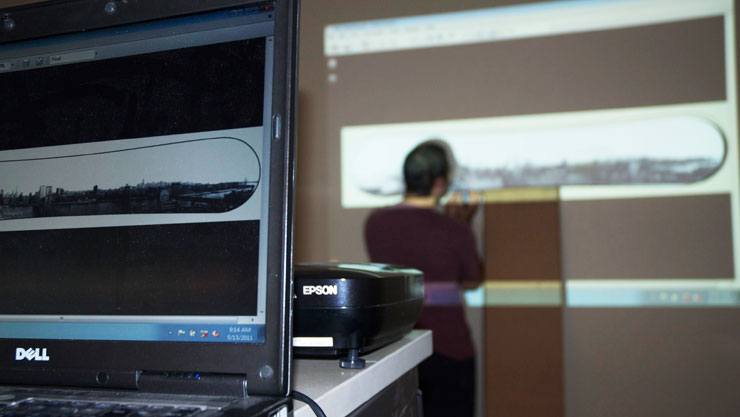
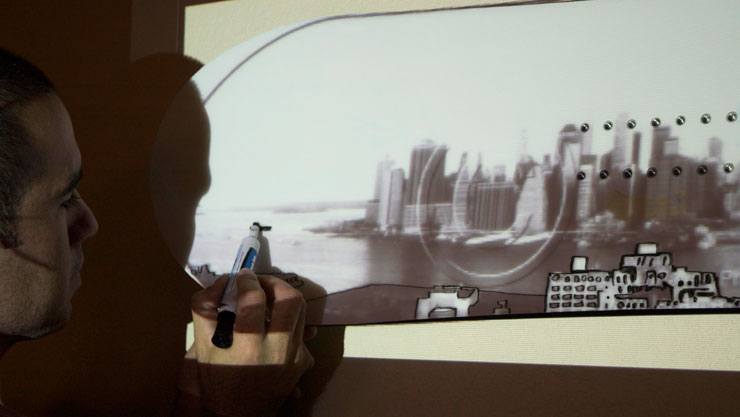
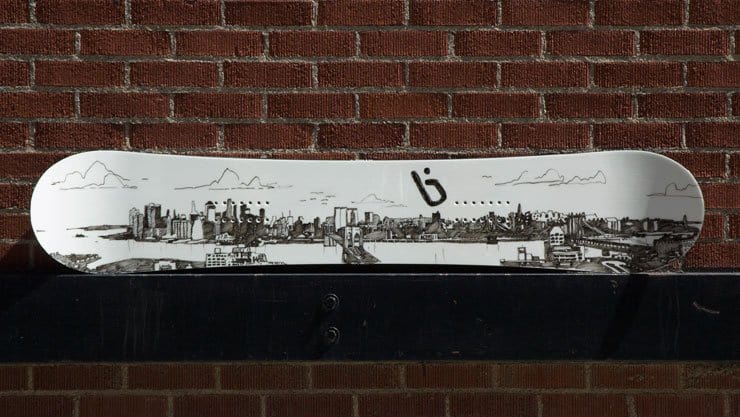
Obviously, you don’t want to dry-erase marker your board, but you could make a cool design using a projector as shown below.
DIFFICULTY: Easy
DURABILITY: None (serious?)
COST: $6-10
SUPPLIES:
Obviously, you don’t want to dry-erase marker your board, but you could make a cool design using a projector as shown below.
You can read more about BoardStix on our blog here.
STEP 1:
Use a cleaning solution to remove dirt or any other residue from the top of the board.
STEP 2:
Apply dry erase markers directly to topsheet.


STEP 3:
Carefully transport your board to the mountain and watch all your hard work slowly disappear.
STEP 4:
Rinse and repeat.
